
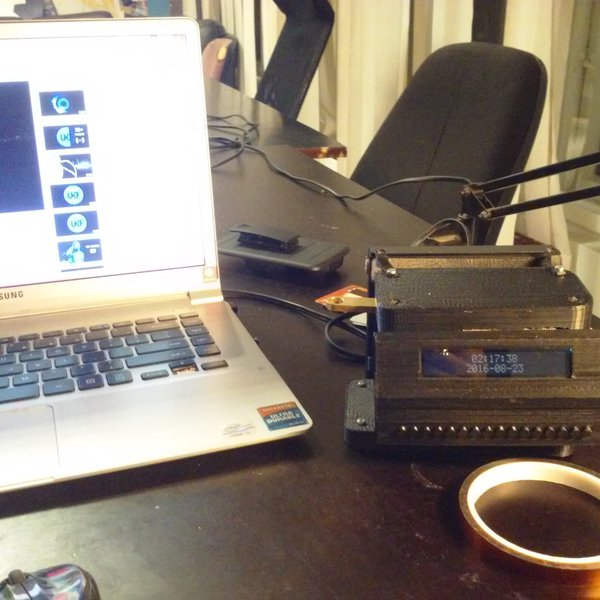
Wearable Raspberry Pi personal assistant Circuit Diagram My AI assistant uses a similar approach to other, successful voice recognition systems (namely Rhasspy). In my case, however, the Raspberry Pi 4B runs a voice recognition software (called VOSK) locally and interfaces with a large language model hosted on one of my PCs through an OpenAI-compliant API endpoint ( Ollama) .
TL;DR Key Takeaways : Building a local AI voice assistant with Raspberry Pi and Home Assistant enhances privacy and data control compared to cloud-based solutions.

Make a homemade AI home assistant Circuit Diagram
Transform your Raspberry Pi into a powerful AI hub with today's accessible machine learning tools and frameworks. From voice recognition systems to computer vision applications, the Pi's compact form factor and robust processing capabilities make it an ideal platform for experimenting with artificial intelligence. Modern AI frameworks like TensorFlow Lite and OpenCV now run efficiently on

In order to get Mycroft up and running, you'll need a Raspberry Pi board along with all the necessary accessories. Mycroft works best on a Raspberry Pi 3 B+ (though a new build for the Pi 4 just

Build a Local Raspberry Pi AI Voice Assistant Circuit Diagram
Recommended Raspberry Pi Models. For building a virtual assistant, the Raspberry Pi 4 Model B stands out as the top choice, offering excellent processing power and memory options (2GB, 4GB, or 8GB RAM) that ensure smooth performance for voice recognition and natural language processing tasks. Its quad-core processor and improved USB 3.0 ports Next we come to the actual electronics you need to make this project work. Raspberry Pi 3/3B. This is the brain of the robot. The Raspberry Pi does all the computation for where the robot should go, how it should move and what task it should do now. The Raspberry pi is the hub for all the sensors and electronics and allows them all to work The full version of Bullseye includes the Pixel Desktop to make your Pi a general purpose computer using an HDMI display, a keyboard (physical or virtual) and a mouse. If you installed the lite version of Raspberry Pi OS Bullseye, however, you can still install the graphical desktop. Here's how. Note that you'll need a USB mouse and a keyboard.
